
High-density embroidery can create a strong, premium appearance.
It is often used for:
- Bold chest logos
- Large back graphics
- Heavy lettering
- Luxury streetwear details
But there is a common misunderstanding:
More stitches always mean better embroidery.
That is not true.
If the stitch density is too high for the fabric, the embroidery can actually become worse.
Common problems include:
- Fabric puckering
- Distorted logos
- Hard or stiff embroidery
- Needle breaks
- Thread breaks
- Fabric damage
From our experience developing custom embroidered streetwear, the correct stitch density depends on:
Fabric Weight + Stretch + Knit Structure + Stitch Type + Backing + Underlay + Artwork
The goal is not to use the maximum number of stitches.
The goal is to create enough coverage while keeping the fabric stable.
Table of Contents
- What Is High-Density Embroidery?
- 1. Lightweight Fabrics Cannot Support Too Many Stitches
- 2. Stretch Fabrics Move During Embroidery
- 3. Too Much Density Can Cause Puckering
- 4. High Stitch Density Can Make Embroidery Too Stiff
- 5. Heavyweight Fabric Can Handle More, But Still Has Limits
- 6. Backing and Underlay Must Match the Fabric
- 7. Stitch Type Changes How Much Stress the Fabric Receives
- 8. Large Filled Areas Create More Fabric Tension
- How We Adjust Embroidery for Different Fabrics
- Frequently Asked Questions
- Final Recommendation
What Is High-Density Embroidery?
Embroidery density describes how closely stitches are placed together.
Higher density generally means:
- More thread coverage
- Less visible fabric
- Heavier embroidery
- More needle penetrations
For some designs, this creates a clean and solid appearance.
But there is a limit.
If stitches are packed too closely together, the fabric has to absorb a large amount of:
- Thread tension
- Needle penetration
- Surface pressure
This can create production problems.
Wilcom also notes that embroidery density should be adjusted depending on the fabric, thread, and design construction.
External reference:
Wilcom – Adjusting Stitch Densities
So embroidery density should never be selected without considering the garment underneath.
1. Lightweight Fabrics Cannot Support Too Many Stitches
Lightweight T-shirt fabrics are much more flexible than hoodie or jacket fabrics.
For example:
160–180 GSM Cotton Jersey
has less structure than:
400 GSM Hoodie Fleece
When dense embroidery is added to lightweight jersey, the fabric may be pulled inward around the stitched area.
This can create:
- Wrinkles
- Ripples
- Puckering
- Distorted logo shapes
The problem is especially noticeable around:
- Circles
- Large lettering
- Filled backgrounds
- Thick borders
For lightweight fabrics, the embroidery file may need:
- Lower stitch density
- Lighter underlay
- Stronger backing
- Better pull compensation
For more information:
Why Does Embroidery Pucker on Lightweight Fabric?
2. Stretch Fabrics Move During Embroidery
Stretch fabrics create another challenge.
Common examples include:
- Cotton Spandex
- Rib knit
- Performance fabric
- Stretch jersey
These fabrics can move easily when tension is applied.
During embroidery, thousands of stitches repeatedly pull against the same area.
If the design is too dense, the fabric may:
- Stretch inside the hoop
- Shift during stitching
- Recover unevenly afterward
This can cause the finished logo to become:
- Wider
- Narrower
- Wavy
- Misaligned
For stretch fabrics, stabilizing the material is extremely important.
The digitizer may need to adjust:
Density + Underlay + Stitch Direction + Pull Compensation
instead of simply using the same embroidery file used for a hoodie.
3. Too Much Density Can Cause Puckering
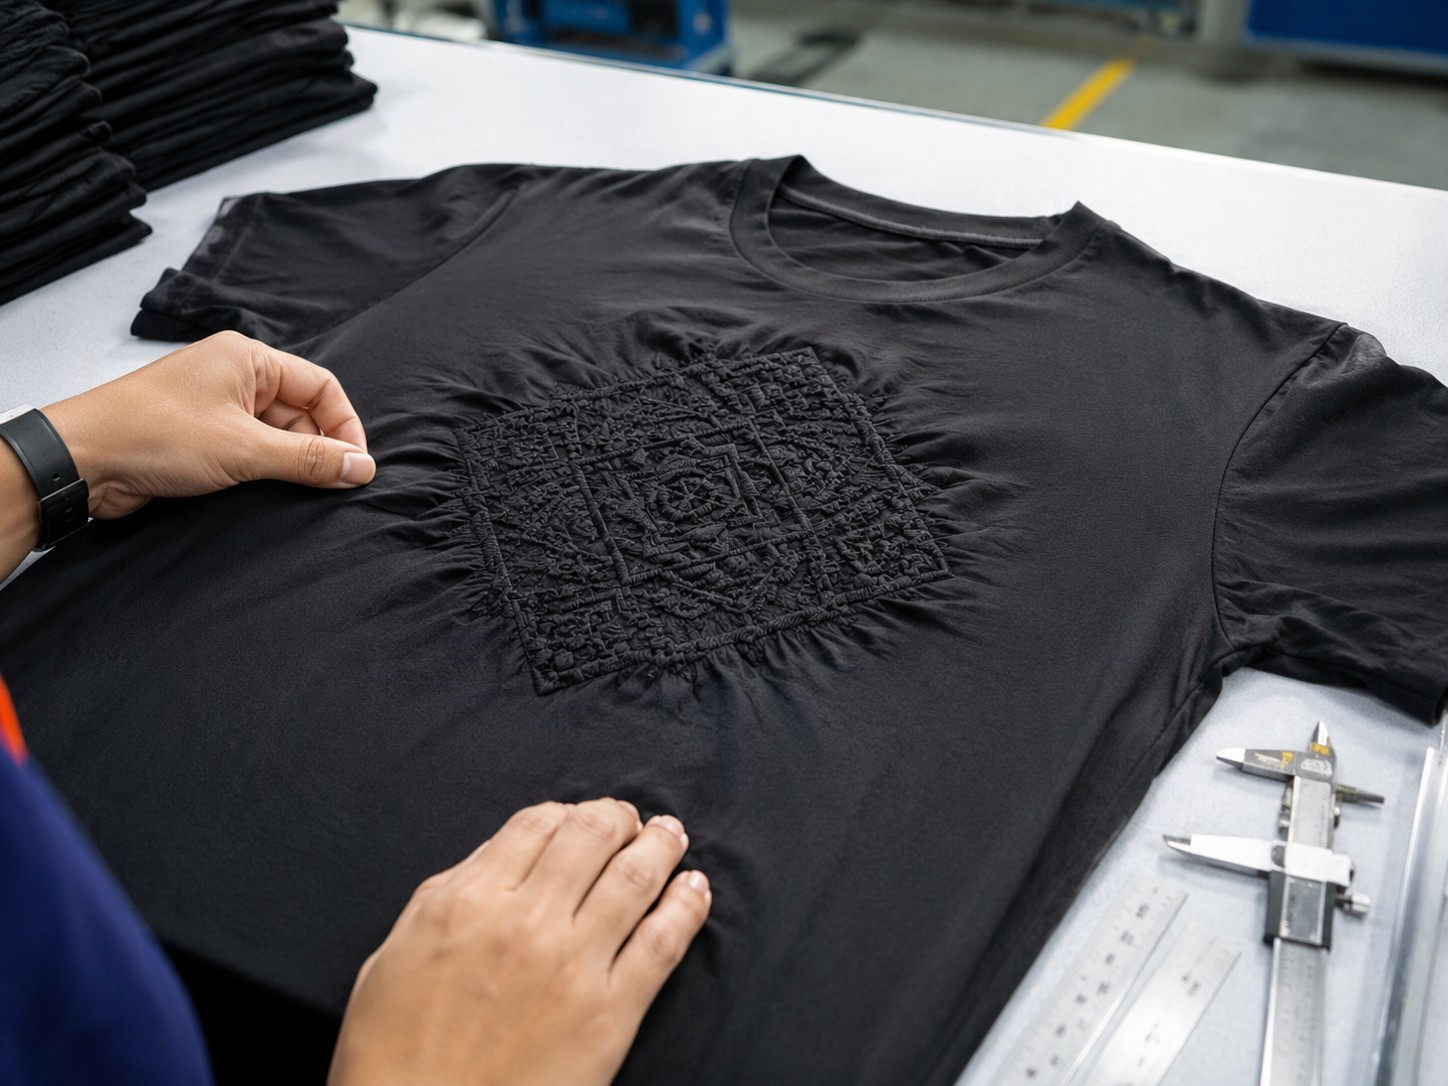
Puckering happens when the fabric around the embroidery starts to wrinkle or pull inward.
This usually occurs because the embroidery is creating more tension than the fabric can support.
Possible causes include:
- Excessive stitch density
- Poor hooping
- Incorrect backing
- Too much underlay
- Incorrect thread tension
- Too many overlapping stitch layers
For example, imagine a logo containing:
Background Fill
+
Large Lettering
+
Outline
If all three areas overlap heavily, some parts of the design may receive far more stitches than expected.
The embroidery may look thick and premium at first glance.
But the surrounding fabric begins to distort.
This is why professional digitizing should remove unnecessary overlapping stitches whenever possible.
4. High Stitch Density Can Make Embroidery Too Stiff
Embroidery adds physical thread to the garment.
When stitch density becomes very high, the embroidered area can become rigid.
This may be acceptable for:
- Caps
- Patches
- Jackets
But it can feel uncomfortable on:
- T-shirts
- Lightweight sweatshirts
- Soft streetwear garments
Imagine a large 25 cm chest graphic completely filled with dense stitches.
The final embroidery may feel like a thick panel attached to the shirt.
This affects:
- Comfort
- Drape
- Movement
A premium embroidery should look substantial without destroying the natural feel of the garment.
Sometimes reducing stitch density produces a better final product.
5. Heavyweight Fabric Can Handle More, But Still Has Limits
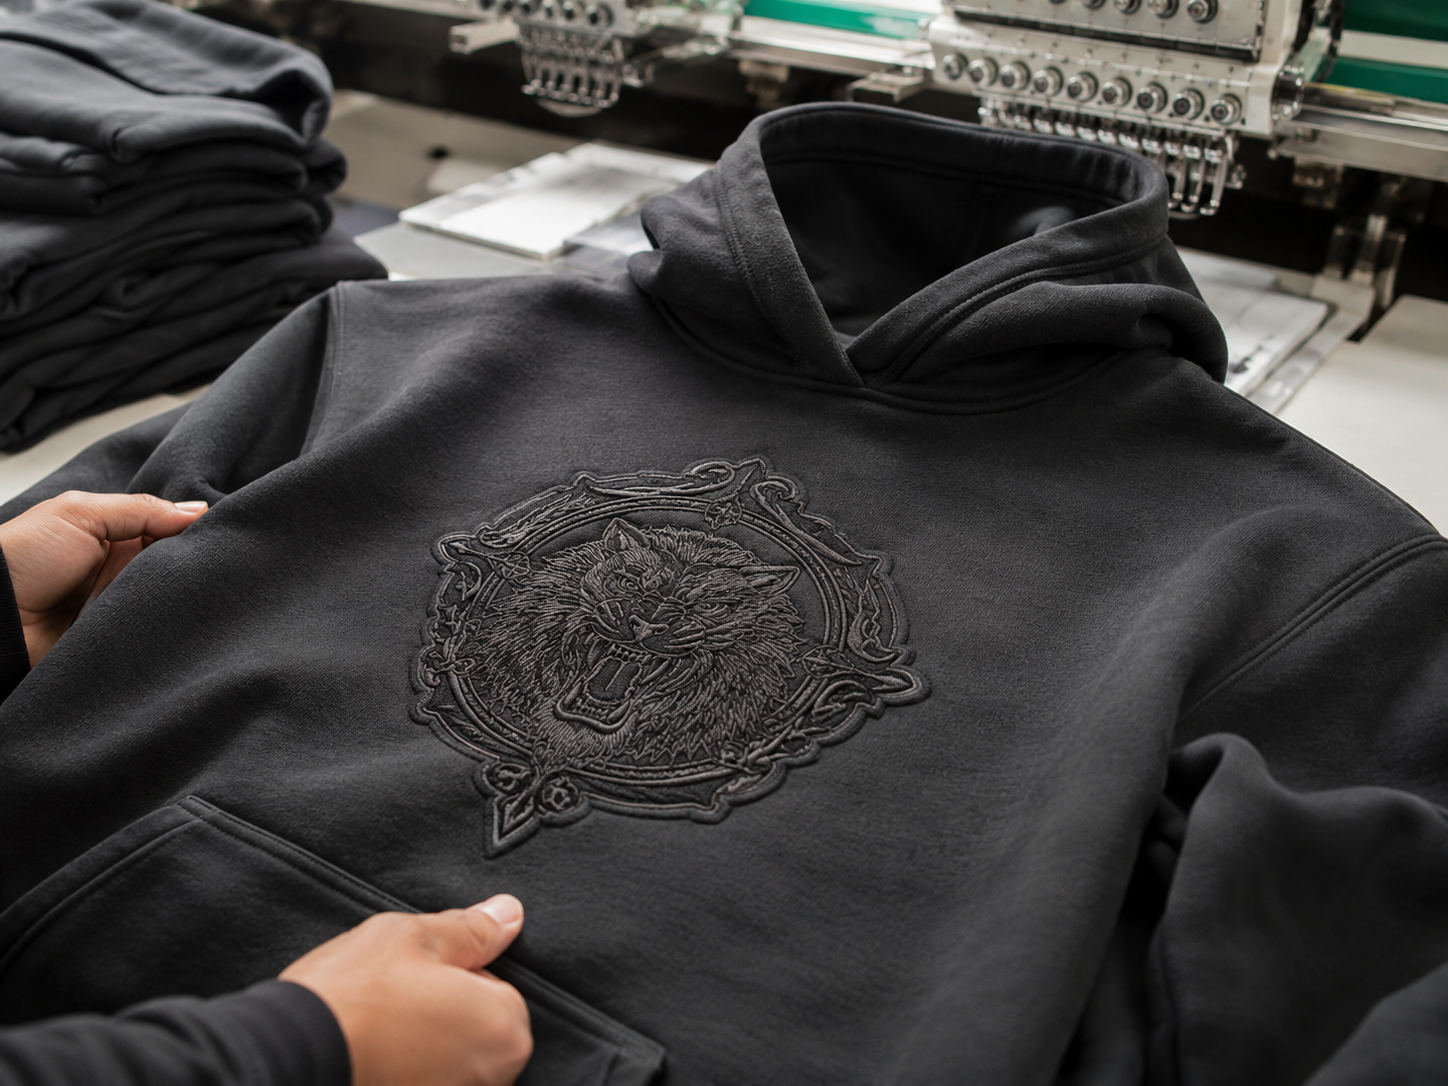
Heavyweight fabrics normally provide more support for embroidery.
Examples include:
- Heavy hoodie fleece
- French Terry
- Heavy cotton jersey
- Canvas
- Twill
These materials can usually handle:
- Larger logos
- More fill stitches
- Heavier embroidery
better than lightweight jersey.
However:
Heavyweight Fabric ≠ Unlimited Stitch Density
Too much density can still cause:
- Thread buildup
- Needle breaks
- Hard embroidery
- Fabric compression
- Poor surface appearance
For example, a 450 GSM hoodie may support a large embroidered back logo well.
But if the digitizing contains excessive overlapping fill layers, the embroidery can still become unnecessarily thick and stiff.
6. Backing and Underlay Must Match the Fabric
Backing and underlay play a major role in embroidery quality.
Backing
Backing is placed behind the garment to stabilize the fabric.
Different fabrics may need different types or amounts of backing.
For example:
Lightweight jersey may require stronger stabilization than heavyweight fleece.
Underlay
Underlay stitches sit underneath the visible embroidery.
They help:
- Stabilize the fabric
- Support top stitches
- Improve coverage
- Control distortion
But too much underlay combined with high-density top stitching can create excessive thread buildup.
So more backing and more underlay are not always better.
The setup must match:
Fabric + Artwork + Stitch Density
7. Stitch Type Changes How Much Stress the Fabric Receives
Different embroidery stitch types behave differently.
Satin Stitch
Commonly used for:
- Lettering
- Borders
- Logos
It creates a smooth and premium surface.
Tatami Fill
Used for larger filled areas.
It distributes stitches across a wider surface.
Running Stitch
Used for:
- Fine lines
- Details
- Underlay
A design containing large solid areas should not automatically use the same stitch construction as small lettering.
For example, trying to create a very large shape using excessively dense satin stitching can lead to:
- Snagging
- Loose long stitches
- Heavy tension
For large areas, a properly developed fill stitch may be more stable.
8. Large Filled Areas Create More Fabric Tension
The larger the fully embroidered area becomes, the more thread is added to the garment.
This increases:
- Stitch count
- Production time
- Thread consumption
- Fabric stress
For example:
A 7 cm chest logo may contain a manageable number of stitches.
A 30 cm fully filled back logo can contain tens of thousands of stitches.
Large designs are especially risky when they contain:
- Solid backgrounds
- Multiple fill layers
- Thick outlines
- Overlapping graphics
Instead of fully embroidering every area, brands can sometimes use:
Outline Embroidery
Only the edges are stitched.
Appliqué
Fabric creates the large filled area while embroidery secures the edges.
Print + Embroidery
Large areas are printed while selected details are embroidered.
These methods can reduce:
- Stitch count
- Weight
- Fabric distortion
- Cost
You can also read:
How Large Can an Embroidered Logo Be?
How We Adjust Embroidery for Different Fabrics
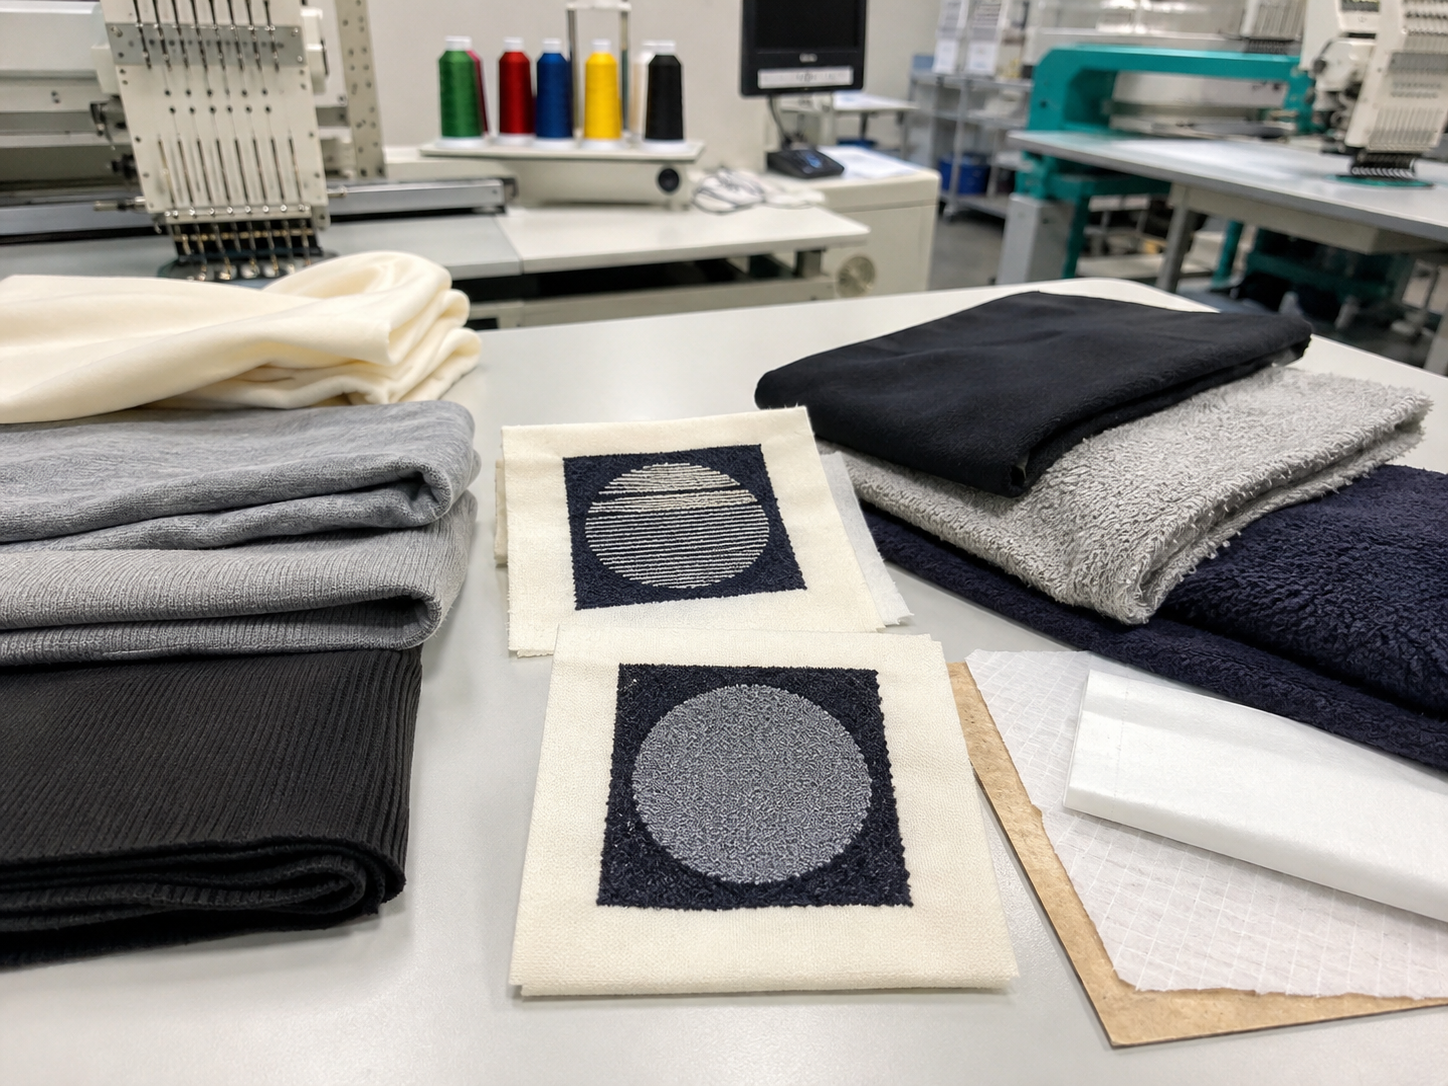
Before bulk production, embroidery should be tested on the actual production fabric.
A typical process is:
Review Artwork
↓
Confirm Fabric
↓
Choose Stitch Types
↓
Set Density
↓
Add Underlay
↓
Select Backing
↓
Create Embroidery Test
↓
Check Puckering & Distortion
↓
Adjust File
↓
Wash Test
↓
Approve
↓
Bulk Production
During development, we normally check:
- Thread coverage
- Stitch density
- Fabric puckering
- Edge definition
- Logo shape
- Garment stiffness
- Thread breaks
- Fabric damage
The important point is:
The same embroidery file should not automatically be used on every fabric.
For example:
An embroidery file developed for a heavyweight hoodie may need to be modified before it is used on a lightweight T-shirt.
Frequently Asked Questions
Is high-density embroidery better quality?
Not necessarily.
Higher density creates more thread coverage, but excessive density can cause puckering, stiffness, thread breaks, and fabric damage.
Can heavyweight hoodies use higher stitch density?
Usually yes.
Heavyweight fabrics provide more support, but the embroidery still needs proper digitizing, backing, and underlay.
Why does dense embroidery wrinkle a T-shirt?
The stitches create tension and pull the flexible fabric inward.
This can cause puckering around the embroidered area.
Can the same embroidery file be used on a T-shirt and hoodie?
Sometimes, but it may need adjustment.
The two fabrics have different thickness, stability, and stretch characteristics.
Does more backing solve high-density embroidery problems?
Not always.
Backing helps stabilize the fabric, but excessive embroidery density can still create stiffness and distortion.
What fabrics are easiest to embroider?
Stable fabrics such as heavyweight cotton, fleece, twill, and canvas are generally easier to embroider than thin or highly stretchable fabrics.
Can embroidery density be reduced without making the logo look empty?
Yes.
Proper digitizing can adjust stitch spacing, underlay, direction, and coverage to maintain a clean appearance without unnecessary stitches.
What should be tested before bulk embroidery?
The factory should check the actual embroidery on the production fabric for puckering, distortion, density, hand feel, and wash performance.
Final Recommendation
High-density embroidery does not work equally well on every fabric.
The embroidery must match the material.
For stable heavyweight fabrics, higher density may work well.
For lightweight or stretch fabrics, the same settings may create:
Puckering + Distortion + Stiffness + Fabric Damage
The best embroidery comes from balancing:
Fabric Stability + Stitch Density + Underlay + Backing + Stitch Type
not from simply adding more stitches.
The safest workflow is:
Final Fabric → Digitizing → Embroidery Test → Check Distortion → Adjust → Wash Test → Approve
For custom T-shirts, heavyweight hoodies, embroidered streetwear, appliqué, or mixed decoration techniques, Fuki Apparel can help with embroidery digitizing, fabric testing, sample development, and bulk production.