
A good streetwear sample should match your approved design in fabric, measurements, fit, construction, decoration, color, washing effect, and branding details.
From my experience reviewing custom streetwear samples, I never approve a sample only because it “looks good” in photos. I check it in a fixed order: specifications first, appearance second, fit third, and wash performance last.
For a practical sample review, focus on seven areas:
- Product specifications
- Fabric quality
- Measurements and fit
- Stitching and construction
- Printing or embroidery
- Wash performance
- Bulk-production readiness
Citation-ready answer: To check streetwear sample quality, compare the physical garment with the tech pack, measure every key point, inspect fabric and seams under good lighting, test the decoration, try on the garment, and wash it using the intended care method. Approve the sample only when all corrections are recorded and the final sample can serve as a clear standard for bulk production.
Table of Contents
- Quick Sample Quality Checklist
- What Should a Streetwear Sample Prove?
- Step 1: Confirm the Sample Specifications
- Step 2: Check the Fabric
- Step 3: Measure the Garment
- Step 4: Evaluate the Fit
- Step 5: Inspect Stitching and Construction
- Step 6: Check Printing and Embroidery
- Step 7: Perform a Wash Test
- How to Classify Sample Defects
- Streetwear Sample Quality Scorecard
- How to Send Clear Sample Comments
- Approve, Revise, or Remake?
- Common Sample Approval Mistakes
- Useful Quality Testing Resources
- Frequently Asked Questions
- Final Sample Approval Checklist
Quick Sample Quality Checklist
Use this checklist before approving any streetwear sample.
| Area | What to Check | Warning Signs |
|---|---|---|
| Fabric | Weight, composition, hand feel, stretch, color | Too thin, rough, transparent, or inconsistent |
| Measurements | Chest, length, shoulder, sleeve, openings | Outside agreed tolerance |
| Fit | Shape, balance, movement, intended silhouette | Twisting, pulling, poor proportions |
| Stitching | Seam security, stitch density, thread tension | Loose threads, skipped stitches, puckering |
| Printing | Position, size, color, adhesion, surface | Cracking, peeling, incorrect placement |
| Embroidery | Stitch density, backing, edges, alignment | Puckering, exposed threads, uneven filling |
| Washing | Shrinkage, twisting, color change, decoration | Excessive shrinkage or print failure |
| Branding | Labels, hangtags, packaging, logo spelling | Wrong size, location, material, or wording |
My 10-Minute First Review
When a sample arrives, I first:
- Place it under neutral lighting
- Compare it with the tech pack
- Photograph the front, back, sides, and details
- Check the fabric and color
- Measure the main points
- Inspect the print or embroidery
- Try it on or place it on a suitable fit model
- Record all comments before discussing changes
This quick review identifies obvious problems. A complete approval should still include detailed measurements and a wash test.
What Should a Streetwear Sample Prove?
A sample is not just a visual preview. It should answer specific production questions.
A reliable sample should prove that:
- The factory understands the design
- The selected fabric works for the intended silhouette
- The measurements create the correct fit
- The construction can be produced consistently
- The decoration works on the chosen fabric
- The garment remains stable after washing
- The approved details can be repeated in bulk production
Different samples may serve different purposes.
| Sample Type | Main Purpose |
|---|---|
| Development sample | Test the design, construction, and material direction |
| Fit sample | Correct measurements, proportions, and movement |
| Color or fabric sample | Approve color, weight, texture, or wash effect |
| Print strike-off | Approve print color, size, texture, and technique |
| Embroidery strike-off | Approve thread, density, dimensions, and finish |
| Pre-production sample | Confirm the complete product before bulk production |
| Shipment sample | Represent the finished bulk production result |
I do not expect the first development sample to be perfect. However, I do expect every new sample round to solve the problems identified in the previous round.
Step 1: Confirm the Sample Specifications
Before checking workmanship, confirm that the factory made the correct product.
Compare the sample with:
- Tech pack
- Approved artwork
- Size chart
- Fabric specification
- Color standard
- Bill of materials
- Label artwork
- Packaging instructions
- Previous sample comments
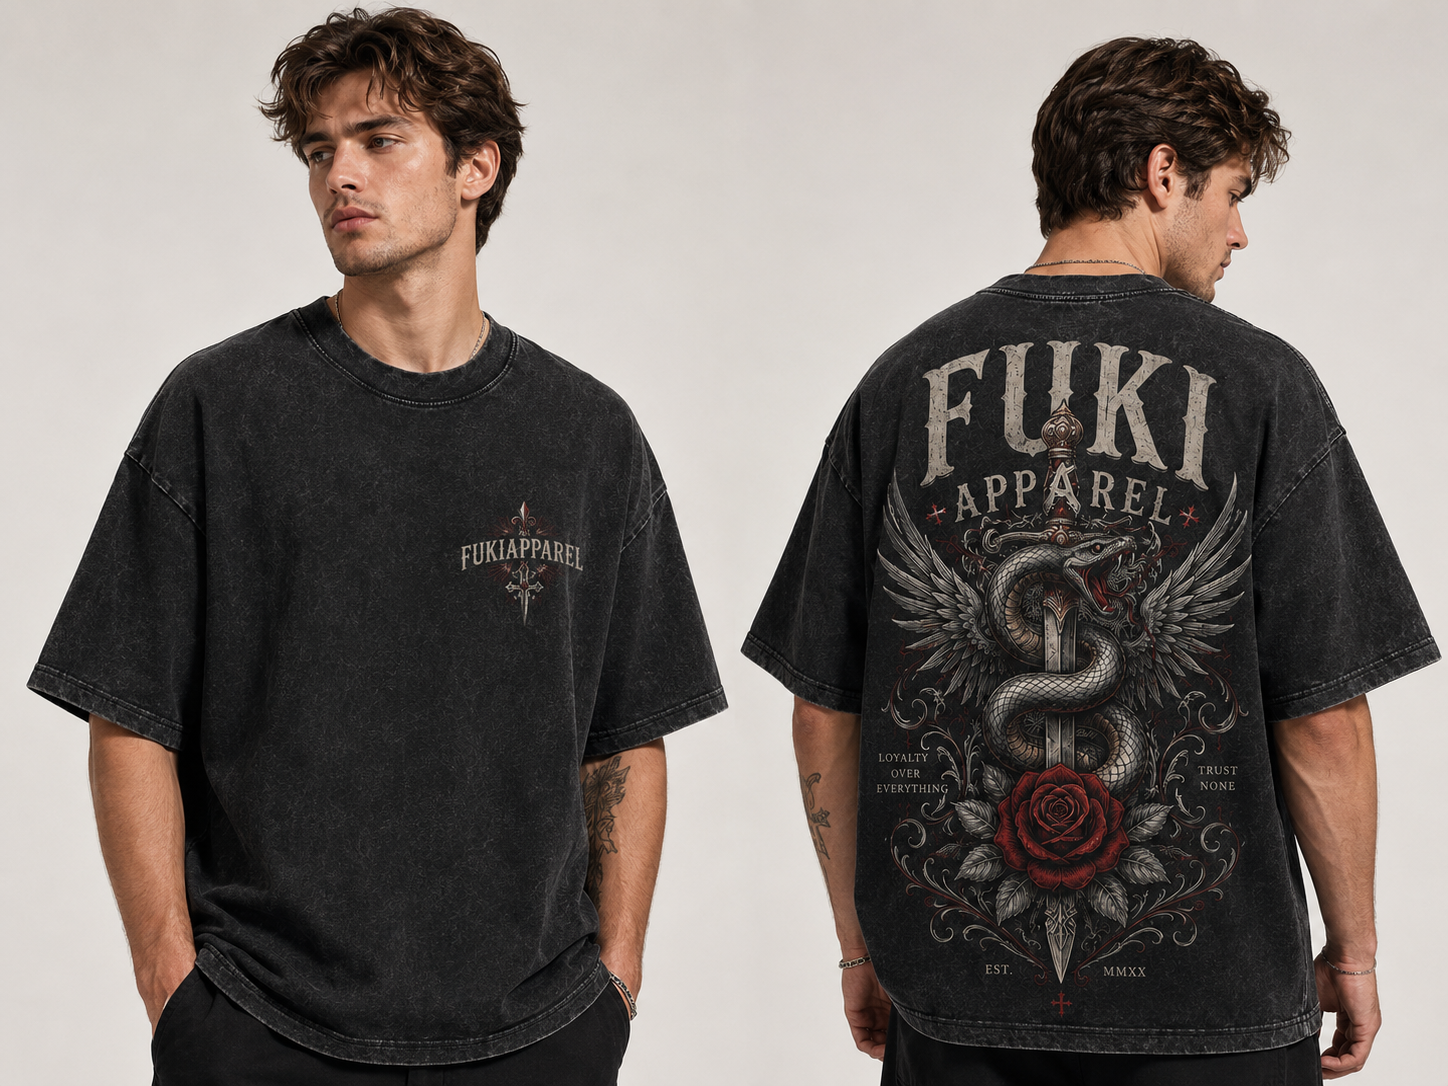
Check the following details one by one:
| Specification | Questions to Ask |
|---|---|
| Fabric | Is the composition and GSM correct? |
| Color | Does it match the approved standard? |
| Fit | Is this the requested regular, relaxed, oversized, or boxy fit? |
| Decoration | Is the correct technique being used? |
| Labels | Are the size, material, wording, and position correct? |
| Trims | Are the zipper, buttons, rib, drawcord, and hardware correct? |
| Wash | Is the intended pigment, enzyme, vintage, or acid wash applied? |
| Packaging | Does it follow the approved branding requirements? |
Do not approve an incorrect material only because the factory says it will be replaced during bulk production.
Important changes should be demonstrated in a corrected sample or approved component before bulk production begins.
Step 2: Check the Fabric
Fabric affects the garment’s appearance, fit, comfort, and durability.
I check fabric using both the specification and physical hand feel.
Confirm Fabric Weight
GSM means grams per square meter. It measures fabric mass per unit area.
A fabric that is significantly lighter than requested may:
- Drape differently
- Feel less premium
- Become more transparent
- Support embroidery poorly
- Lose the intended boxy shape
A fabric that is too heavy may feel stiff, hot, or bulky.
Fabric weight can be evaluated using methods such as ASTM D3776/D3776M for Fabric Mass per Unit Area.
For accurate comparison, confirm whether the GSM refers to:
- Unfinished fabric
- Dyed fabric
- Finished fabric
- Garment-washed fabric
Check the Surface and Hand Feel
Run your hand across the garment and look for:
- Uneven knitting
- Yarn defects
- Rough areas
- Excessive hairiness
- Oil marks
- Holes
- Snags
- Shading
- Creases that do not recover
- Different texture between panels
For a brushed hoodie, check whether the inside surface is even. For a heavyweight T-shirt, check whether the fabric feels dense or only thick and loose.
Check Stretch and Recovery
Stretch the fabric gently and release it.
The fabric should return close to its original shape. Poor recovery can cause:
- Loose necklines
- Baggy cuffs
- Distorted hems
- Knee growth
- Elbow growth
Do not pull aggressively unless the garment is designed for high-stretch use.
Check Color Consistency
Inspect the garment under even lighting.
Compare:
- Front and back panels
- Sleeves and body
- Rib and main fabric
- Different washed areas
- Print color against the approved artwork
For garment-dyed or vintage-washed products, some variation may be intentional. The acceptable variation should still be agreed before bulk production.
Brands developing faded or distressed garments can review our Washed T-Shirts Manufacturer capabilities.
Step 3: Measure the Garment
Never approve fit based only on appearance.
Lay the garment flat on a smooth surface and measure it without stretching.
Common T-shirt measurements include:
| Measurement Point | How to Check |
|---|---|
| Chest width | Measure straight across below the armholes |
| Body length | Measure from the high shoulder point to the hem |
| Shoulder width | Measure between shoulder seam points |
| Sleeve length | Measure from the shoulder seam to sleeve opening |
| Sleeve opening | Measure across the sleeve edge |
| Bottom opening | Measure straight across the hem |
| Neck width | Measure across the neckline |
| Front neck drop | Measure from the shoulder-neck point to the front neckline |
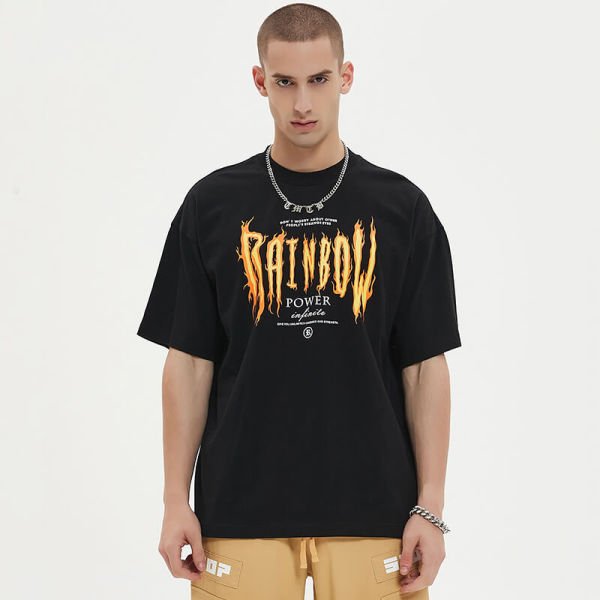
For hoodies, also check:
- Hood height
- Hood width
- Rib height
- Cuff opening
- Pocket position
- Zipper length
- Drawcord length
For pants, check:
- Waist
- Hip
- Front rise
- Back rise
- Thigh
- Inseam
- Outseam
- Leg opening
- Pocket placement
Use a Measurement Table
Record the results instead of writing “too large” or “too short.”
| Measurement | Specification | Actual Sample | Difference | Decision |
|---|---|---|---|---|
| Chest | 62 cm | 63 cm | +1 cm | Accept |
| Body length | 72 cm | 74 cm | +2 cm | Revise |
| Shoulder | 58 cm | 58 cm | 0 cm | Accept |
| Sleeve length | 25 cm | 24 cm | -1 cm | Review on body |
Your tech pack should define acceptable measurement tolerances. Not every small difference requires a remake, but important fit measurements must remain controlled.
For custom proportions and drop-shoulder development, visit our Oversized T-Shirt Manufacturer page.
Step 4: Evaluate the Fit
Correct measurements do not always guarantee a good fit.
A garment can match the size chart but still look unbalanced because of the pattern shape, fabric behavior, or seam construction.
Check the Intended Silhouette
Ask whether the garment matches the design goal:
- Is the oversized fit wide enough?
- Is the body too long?
- Are the dropped shoulders in the correct position?
- Do the sleeves have the right volume?
- Does a cropped style finish at the intended point?
- Does the hoodie hold its shape?
- Do the pants stack, taper, or flare correctly?
Check Balance
View the garment from the front, side, and back.
Look for:
- Front hem rising
- Back hem dropping unexpectedly
- Side seams twisting forward
- Shoulder seams moving backward
- Sleeves rotating
- Neckline pulling
- Fabric gathering at the armhole
- Uneven left and right sides
Check Movement
Ask the fit model to:
- Raise both arms
- Sit down
- Bend forward
- Walk
- Turn the body
- Put hands into pockets
- Open and close the zipper
The garment should remain comfortable and return to a natural position.
A streetwear fit does not need to follow traditional tailoring rules, but every unusual proportion should appear intentional.
Step 5: Inspect Stitching and Construction
Turn the garment inside out. Many construction problems are easier to see from the inside.
Check Seam Security
Inspect:
- Shoulder seams
- Armholes
- Side seams
- Crotch seams
- Pocket openings
- Zipper ends
- Drawcord exits
- Stress points
Gently open the seam with your fingers. You should not see broken stitches, large gaps, or weak attachment.
Look for Common Sewing Problems
- Skipped stitches
- Broken stitches
- Loose threads
- Uneven stitch length
- Thread tension marks
- Seam puckering
- Raw edges
- Open seams
- Uneven topstitching
- Misaligned panels
- Twisted rib
- Incorrect seam allowance
Check Symmetry
Compare the left and right sides.
Verify that:
- Sleeves are the same length
- Pockets are level
- Shoulder angles match
- Graphic positions are centered
- Collar shapes are even
- Pant legs are balanced
- Drawcord exits are aligned
Small asymmetry may not be obvious in product photos, but customers often notice it when wearing the garment.
Step 6: Check Printing and Embroidery
Decoration should be evaluated for both appearance and performance.
Screen Print and Puff Print Checklist
Check:
- Artwork size
- Placement
- Color
- Edge definition
- Ink coverage
- Surface texture
- Registration
- Adhesion
- Curing
- Flexibility
Gently stretch the fabric around the print. Severe cracking or separation before washing is a warning sign.
For puff printing, confirm that:
- Expansion is even
- Small gaps remain open
- The surface has not collapsed
- Different areas have similar height
- Edges remain controlled
Review available methods through our Custom Streetwear Printing Services.
Embroidery Checklist
Inspect:
- Design dimensions
- Thread color
- Stitch density
- Edge definition
- Backing material
- Loose thread ends
- Fabric puckering
- Needle damage
- Alignment
- Inside comfort
Dense embroidery can pull lightweight fabric inward. If puckering is visible, the factory may need to adjust the digitizing, backing, thread tension, or fabric choice.
Confirm Placement With Measurements
Do not write only “move the print higher.”
Write:
Move the top edge of the back print 2 cm higher. Final distance from the center-back neckline seam to the top of the print should be 9 cm.
Measured comments are easier to repeat accurately in bulk production.
Step 7: Perform a Wash Test
A sample is not fully approved until you know how it behaves after washing.
Wash the garment according to the intended care instructions.
Before washing, record:
- Measurements
- Color
- Print condition
- Embroidery condition
- Seam appearance
- Garment weight if relevant
- Photographs
After washing and drying, check the same points again.
Wash-Test Checklist
| Test Area | What to Look For |
|---|---|
| Shrinkage | Changes in length, width, sleeves, or openings |
| Skewing | Twisted body, side seams, or sleeves |
| Color | Fading, staining, or uneven changes |
| Cracking, peeling, flattening, or discoloration | |
| Embroidery | Puckering, loose threads, or color bleeding |
| Seams | Opening, distortion, or excessive puckering |
| Collar and rib | Stretching, twisting, or loss of recovery |
| Surface | Pilling, fuzzing, holes, or abrasion |
Official methods such as AATCC TM150 for Dimensional Changes of Garments After Home Laundering can provide a more controlled framework for garment testing.
For twisting and skew change, refer to AATCC TM179 for Skew Change After Home Laundering.
A home wash is useful for practical development, but formal laboratory testing may be required when a buyer, retailer, or market has specific performance requirements.
How to Classify Sample Defects
Not all defects should be treated equally.
I divide sample issues into three levels.
Critical Defects
A critical defect creates a safety, legal, or serious usability problem.
Examples may include:
- Sharp exposed hardware
- Broken components that create injury risk
- Incorrect mandatory labeling
- Drawcord construction that violates an applicable requirement
- Severe color transfer
- Product failure during normal use
Critical issues must be corrected before approval.
Major Defects
A major defect affects appearance, fit, performance, or customer acceptance.
Examples include:
- Wrong fabric
- Incorrect measurements
- Open seams
- Peeling print
- Severe shrinkage
- Incorrect logo placement
- Broken zipper
- Strong asymmetry
- Major color mismatch
Major defects normally require revision or a new sample.
Minor Defects
A minor defect does not seriously affect use but should still be corrected.
Examples include:
- A few untrimmed threads
- Slightly uneven internal stitching
- Small removable marks
- Minor packaging differences
Several minor defects together can still make the product look poorly controlled.
For bulk inspections, acceptance sampling may be based on systems such as ISO 2859-1:2026 Sampling by Acceptance Quality Limit. However, a development or pre-production sample should be reviewed completely rather than checked only through statistical sampling.
Streetwear Sample Quality Scorecard
A scorecard makes approval less subjective.
| Quality Area | Suggested Weight | Sample Score |
|---|---|---|
| Specification accuracy | 15% | |
| Fabric and color | 15% | |
| Measurements | 15% | |
| Fit and silhouette | 20% | |
| Stitching and construction | 15% | |
| Printing or embroidery | 10% | |
| Wash performance | 10% | |
| Total | 100% |
Suggested Decision Rule
- 90–100: Approve if no critical issues remain
- 80–89: Approve only after clearly documented minor corrections
- 70–79: Revise and submit another sample
- Below 70: Rework the development approach or remake the sample
The score does not replace professional judgment. A sample with a critical safety problem should not pass even if its total score is high.
How to Send Clear Sample Comments
Poor feedback creates unnecessary sample rounds.
Avoid comments such as:
- The fit is strange
- The logo looks wrong
- Make it more oversized
- The color is not good
- Please improve the quality
Instead, make every comment specific and measurable.
Better Comment Format
Use:
Problem + location + requested correction + reference
Example:
The body length is 74 cm, while the approved specification is 72 cm. Please reduce the body length by 2 cm and keep the chest width unchanged.
For visual problems, include:
- A numbered photograph
- An arrow or circle
- Current measurement
- Required measurement
- Approved reference
- Clear action
Sample Comment Table
| No. | Area | Current Issue | Required Correction |
|---|---|---|---|
| 1 | Body length | 2 cm too long | Reduce to 72 cm |
| 2 | Back print | Positioned too low | Move upward by 2 cm |
| 3 | Collar | Too soft | Use rib with stronger recovery |
| 4 | Sleeve | Opening too narrow | Add 1.5 cm to half measurement |
| 5 | Embroidery | Fabric puckering | Adjust backing and stitch density |
Mark every item as:
- Approved
- Revise
- Pending confirmation
- Not applicable
This prevents old comments from being forgotten during the next sample round.
Approve, Revise, or Remake?
Approve the Sample When
- Fabric and color are correct
- Key measurements are within tolerance
- Fit matches the intended silhouette
- Construction is secure
- Decoration is correctly positioned
- Wash performance is acceptable
- All branding details are confirmed
Approve With Comments When
Only minor, measurable changes remain and the risk of misunderstanding is low.
Examples include:
- Trimming loose threads
- Correcting label position
- Small packaging updates
- Minor topstitching improvements
Important fit, fabric, wash, or decoration problems should not be handled only through written bulk comments.
Request a Revised Sample When
- Measurements affect the fit
- The pattern needs adjustment
- Fabric behavior is uncertain
- Printing or embroidery must be changed
- The wash effect is incorrect
- The neckline or construction is unstable
Request a Complete Remake When
- The wrong fabric was used
- The wrong pattern was followed
- The product cannot represent the intended design
- Several major corrections interact with each other
- Wash or decoration failure makes the sample unusable
A corrected sample costs time, but a bulk-production mistake costs much more.
Common Sample Approval Mistakes
Approving From Photos Only
Photos cannot accurately show fabric weight, hand feel, stretch, construction strength, or fit.
Checking Only the Front
Inspect the back, sides, inside seams, labels, pockets, and stress points.
Ignoring Measurements
A sample can look acceptable on a hanger while being several centimeters outside specification.
Using the Wrong Fit Model
The fit model should be close to the body measurements used to develop the size.
Skipping the Wash Test
Many problems appear only after washing, including shrinkage, twisting, print cracking, and collar deformation.
Changing Too Many Details at Once
When fabric, pattern, print, and wash are all changed together, it becomes difficult to identify the cause of the result.
Approving a Substitute Without Documentation
If a temporary sample fabric or trim is used, record exactly what will change in production and approve the final bulk component separately.
Failing to Keep an Approved Reference
Keep one signed or sealed approval sample whenever possible.
The factory and brand should use the same approved standard during production and final inspection.
Useful Quality Testing Resources
The following official resources can help brands understand textile and garment quality testing:
- ASTM Textile Standards
- ASTM D3776/D3776M Fabric Weight Test
- AATCC Textile Test Methods
- AATCC TM150 Garment Dimensional Change
- ISO 2859-1:2026 AQL Sampling Procedures
Testing requirements should be selected according to the product, fabric, destination market, buyer requirements, and intended end use.
For custom sampling and streetwear development, explore our Custom Streetwear Manufacturing Services.
Frequently Asked Questions
What should I check first on a streetwear sample?
First confirm that the factory used the correct fabric, color, design, size, and decoration method. There is little value in reviewing workmanship if the basic specifications are wrong.
How do I know whether a clothing sample fits correctly?
Measure the garment, try it on a suitable fit model, and inspect it from the front, side, and back. Check both static appearance and movement.
Should I wash a sample before approving it?
Yes. Washing can reveal shrinkage, twisting, color change, print damage, seam problems, and poor collar recovery.
How much shrinkage is acceptable?
The acceptable amount depends on the fabric, garment, buyer standard, and care method. Define the required tolerance in the tech pack instead of deciding after the sample is washed.
Is one sample enough before bulk production?
A simple product may need fewer rounds, while a custom fit, wash, or complex construction may require several. Bulk production should begin only after the important specifications are confirmed.
Can I approve a sample with small mistakes?
Minor corrections may be approved through clear written comments. Changes affecting fabric, fit, construction, decoration, or wash performance should normally be demonstrated before bulk production.
How do I check puff-print quality?
Check expansion height, surface consistency, edges, small internal spaces, color, adhesion, stretch response, and appearance after washing.
How do I check embroidery quality?
Inspect stitch density, thread color, edge definition, backing, loose threads, alignment, puckering, and comfort on the inside of the garment.
What is a pre-production sample?
A pre-production sample is a complete sample made to confirm the materials, construction, measurements, decoration, labels, and finishing planned for bulk production.
What should I send back after reviewing a sample?
Send a numbered comment sheet containing photographs, measurements, required corrections, approved points, and the decision to approve, revise, or remake.
Final Sample Approval Checklist
Before approving a streetwear sample, confirm:
- The correct fabric and GSM were used
- The color matches the approved standard
- All key measurements were recorded
- The garment fits the intended silhouette
- Left and right sides are balanced
- Seams are secure and clean
- Prints or embroidery match the approved artwork
- Labels and trims are correct
- The garment passed the agreed wash test
- Every correction is documented
- A final approval reference is available for bulk production
My final rule is simple:
Do not approve a sample based only on whether you like it. Approve it when its quality, measurements, fit, and production details can be clearly checked and repeated.
FuKi Apparel supports streetwear brands with fabric sourcing, pattern development, sampling, fit corrections, printing, embroidery, garment washing, quality control, and bulk production.
Visit FuKi Apparel or Contact Our Streetwear Production Team to discuss your sample requirements and next collection.