
Building a streetwear collection starts with a clear customer, a focused design direction, and a small group of products that work together.
From my experience developing custom streetwear, the strongest first collections are rarely the largest. They usually have one recognizable idea, one hero product, a controlled color palette, and a small number of fabrics and decoration methods.
Quick answer: Start with one clear brand concept, choose three to five connected products, develop one hero item, control fabrics and colors, create accurate tech packs, approve physical samples, calculate costs, and test demand before increasing production.
Table of Contents
- What Makes a Collection Feel Complete?
- Step 1: Define the Customer
- Step 2: Create One Clear Collection Concept
- Step 3: Build the Product Architecture
- Step 4: Select Colors and Fabrics
- Step 5: Plan Graphics and Branding
- Step 6: Set Prices and Production Quantities
- Step 7: Prepare Technical Information
- Step 8: Develop and Review Samples
- Step 9: Plan Production and Quality Control
- Step 10: Prepare the Collection Launch
- Example First Streetwear Collection
- Common Collection-Building Mistakes
- Frequently Asked Questions
- Final Recommendation
What Makes a Collection Feel Complete?
A streetwear collection does not need many products to feel complete.
It needs products that share a recognizable design language.
That connection may come from:
- Similar silhouettes
- A controlled color palette
- Repeated graphics
- Shared fabrics
- Consistent washing
- Matching trims
- One clear cultural or visual theme
Collection vs Group of Products
| Group of Products | Complete Collection |
|---|---|
| Several unrelated designs | One recognizable direction |
| Different fabrics for every style | Shared material system |
| Too many decoration techniques | Controlled graphic language |
| Random colors | Planned color palette |
| No hero product | One strong focal product |
| Designed one item at a time | Planned as complete outfits |
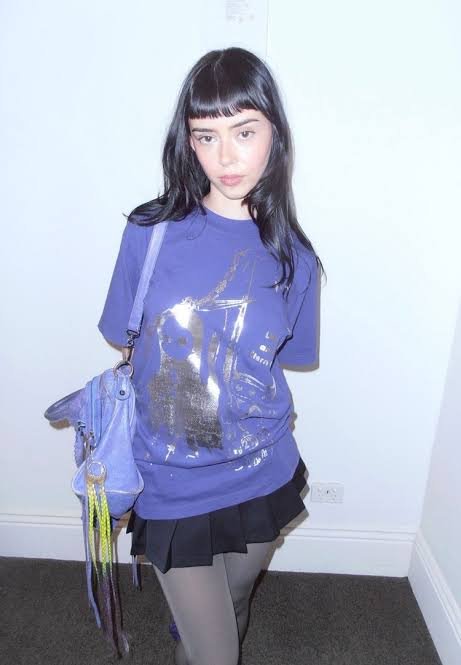
I use this simple test:
If every logo were removed, would the products still look like they belong to the same brand?
When the answer is yes, the collection usually has a strong foundation.
Step 1: Define the Customer
Before choosing garments, define who will wear them.
Avoid describing the customer only as:
- Young people
- Streetwear lovers
- Fashion customers
- Men and women aged 18–35
These groups are too broad to guide product decisions.
Build a Useful Customer Profile
Define:
- Age range
- Main location
- Climate
- Lifestyle
- Typical clothing budget
- Preferred fit
- Favorite product categories
- Shopping habits
- Reasons for choosing your brand
Example Customer Profile
Our customer is a 20–30-year-old creative professional living in a large US city. They prefer relaxed silhouettes, muted colors, heavyweight T-shirts, and products that can be worn several times per week.
This profile gives you practical direction.
It suggests:
- Midweight or heavyweight fabrics
- Easy-to-style colors
- Relaxed fits
- Strong everyday products
- Premium but wearable details
The SBA Market Research Guide provides a useful framework for studying customers, demand, competitors, and market positioning.
Step 2: Create One Clear Collection Concept
A collection concept is the idea that connects the products.
It can come from:
- A city
- A music movement
- A historical period
- A local community
- A sport
- Industrial design
- Workwear
- Nature
- Personal experience
- A cultural reference
The concept should guide product decisions without forcing every garment to use the same graphic.
Turn the Concept Into Design Rules
For example, a collection inspired by abandoned industrial spaces might use:
- Charcoal, washed black, rust, and cream
- Heavy cotton jersey
- Distressed prints
- Oversized silhouettes
- Utility pockets
- Matte hardware
- Faded typography
These rules make design decisions faster and more consistent.
Create a Small Mood Board
Include:
- Color references
- Fabric surfaces
- Silhouettes
- Typography
- Architecture
- Objects
- Photography
- Print textures
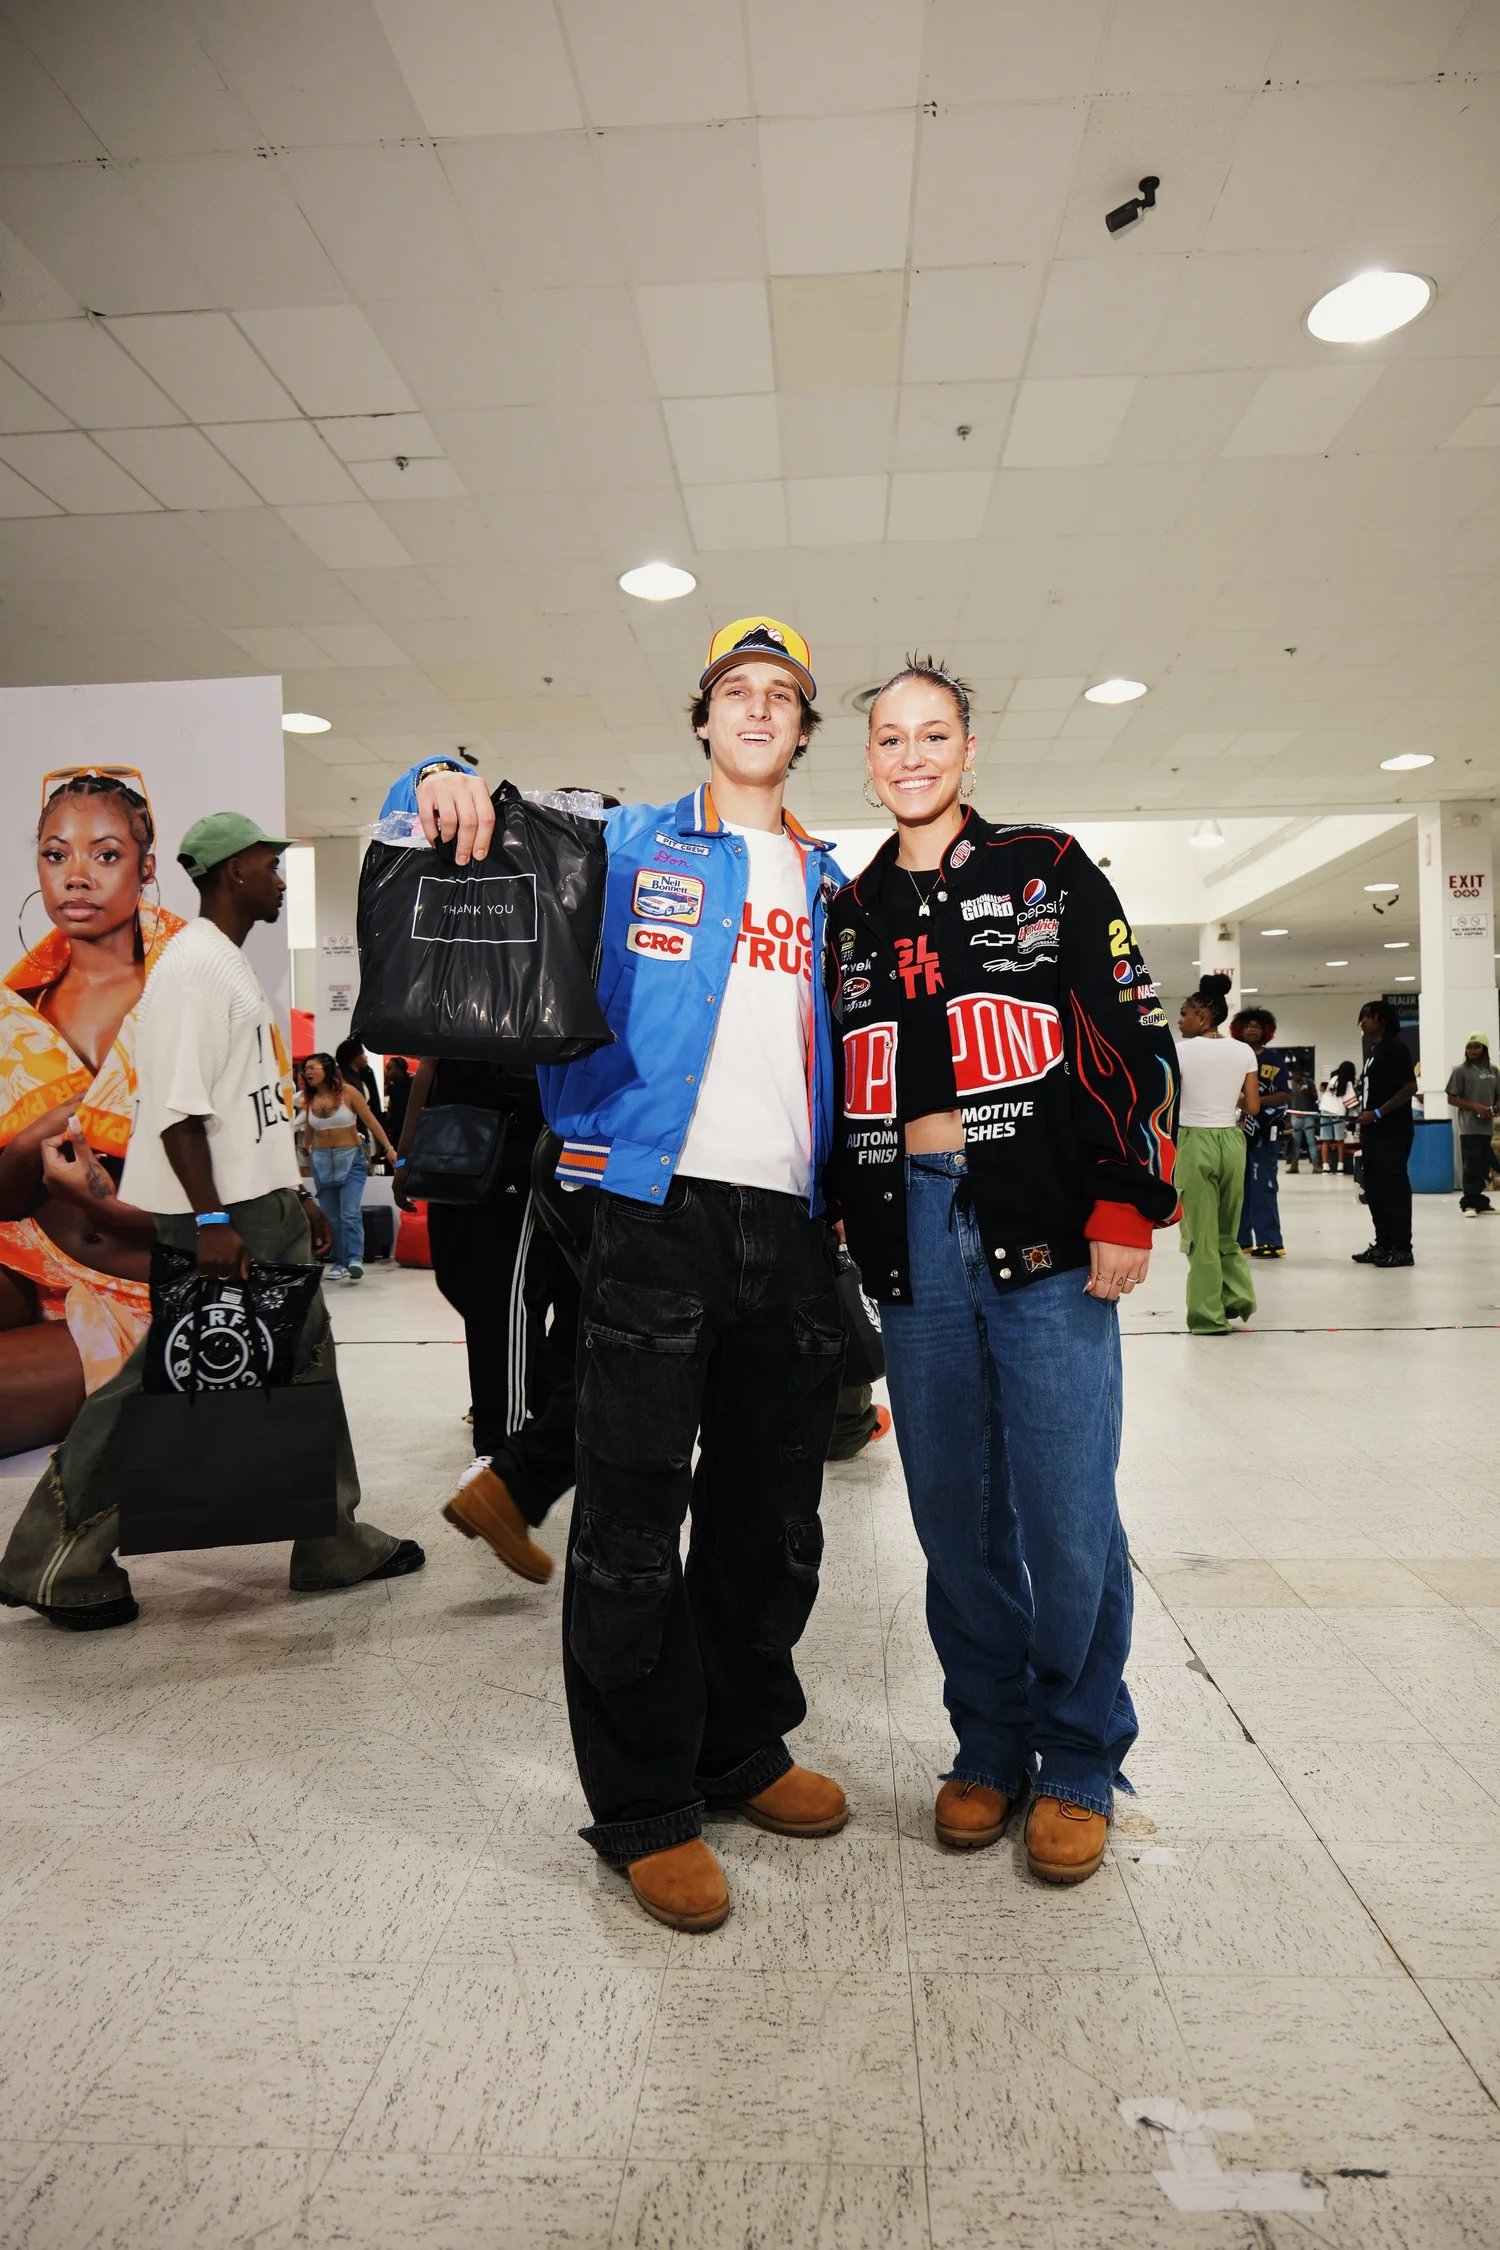
Do not fill the mood board with products from one successful competitor. Use broader references so the collection can develop its own identity.
Step 3: Build the Product Architecture
Product architecture means deciding how each item contributes to the collection.
I divide streetwear products into four groups.
Hero Product
The hero product attracts attention and communicates the strongest brand idea.
Examples include:
- A heavily washed oversized hoodie
- A graphic varsity jacket
- Technical cargo pants
- A statement embroidered T-shirt
Core Products
Core products are easier to wear and reorder.
Examples include:
- Logo T-shirts
- Basic hoodies
- Sweatpants
- Long-sleeve shirts
Supporting Products
Supporting products help customers build complete outfits.
Examples include:
- Shorts
- Overshirts
- Caps
- Vests
- Accessories
Entry Product
An entry product gives new customers a lower-cost way to experience the brand.
This may be:
- A graphic T-shirt
- A cap
- A simple long-sleeve tee
- A small accessory
Recommended First-Collection Structure
| Product Role | Number of Styles | Purpose |
|---|---|---|
| Hero product | 1 | Creates attention |
| Core products | 2–3 | Generate regular sales |
| Supporting product | 1 | Completes outfits |
| Entry product | 1 | Attracts new customers |
For most new brands, three to five styles are enough.
A practical collection might include:
- One oversized graphic T-shirt
- One heavyweight hoodie
- One pair of sweatpants
- One cargo pant
- One cap
Custom silhouettes can be developed through FuKi Apparel OEM and ODM Services.
Step 4: Select Colors and Fabrics
Too many fabrics and colors create unnecessary development work, minimums, and inventory risk.
Create a Fabric System
Use one fabric across several products when possible.
For example:
| Fabric | Possible Products |
|---|---|
| 240 GSM cotton jersey | T-shirts and long sleeves |
| 400 GSM French terry | Hoodies, sweatshirts, and sweatpants |
| Cotton twill | Cargo pants, shorts, and overshirts |
| Lightweight nylon | Jackets, vests, and technical shorts |
This approach can improve:
- Material consistency
- Color matching
- Reorder efficiency
- Production planning
- Collection cohesion
Brands can review material options through FuKi Apparel Custom Fabric Services.
Build a Controlled Color Palette
A practical first collection normally uses:
- One main dark color
- One neutral color
- One accent color
Example:
- Washed black
- Cream
- Muted red
Avoid producing every product in every color.
Instead, assign colors according to product role.
| Product | Suggested Color Plan |
|---|---|
| Hero hoodie | Main color and accent color |
| Core T-shirt | Main color and neutral |
| Sweatpants | Main color only |
| Cargo pants | Neutral or utility color |
| Cap | Accent color |
This gives the collection visual variety without creating too many SKUs.
Step 5: Plan Graphics and Branding
Graphics should connect the collection, not simply fill empty spaces.
Create a graphic hierarchy.
Primary Graphic
The primary graphic carries the main collection message.
It may appear on:
- The hero T-shirt
- A hoodie back
- A jacket
- Campaign materials
Secondary Graphic
The secondary graphic supports the main concept.
It may use:
- A smaller symbol
- A date
- A location
- A short phrase
- A simplified illustration
Core Brand Mark
This is the repeatable logo or symbol used across collections.
It may appear as:
- Small embroidery
- Chest printing
- Woven label
- Silicone patch
- Hardware detail
Match Decoration to the Artwork
| Artwork Type | Practical Starting Method |
|---|---|
| Bold solid graphic | Screen printing |
| Full-color illustration | DTG |
| Raised lettering | Puff printing |
| Small premium logo | Embroidery |
| Large raised initials | Puff embroidery |
| Technical logo | Silicone printing |
| Vintage artwork | Screen print with wash testing |
Explore available techniques through FuKi Apparel Custom Printing Services.
Do not use screen printing, puff printing, embroidery, rhinestones, patches, and silicone on every garment simply because they are available.
One consistent technique can become more recognizable than five unrelated effects.
Step 6: Set Prices and Production Quantities
A collection must work financially, not only visually.
Before sampling every product, estimate:
- Development cost
- Fabric cost
- Production cost
- Labels and packaging
- Inspection
- Freight
- Duties
- Marketing
- Photography
- Payment fees
- Defect allowance
Use Target Retail Price Early
Work backward from the realistic selling price.
For example, when a hoodie is expected to retail at $90, the complete landed cost must leave enough room for:
- Marketing
- Discounts
- Returns
- Operating costs
- Wholesale margins
- Profit
Do not complete the entire design process before discovering that the product is too expensive for the target customer.
Use Different Quantities by Product Role
| Product Role | Quantity Direction |
|---|---|
| Hero product | Controlled quantity |
| Proven core product | Higher quantity |
| Experimental style | Lower quantity |
| Entry product | Moderate quantity |
| Complex seasonal product | Conservative quantity |
A lower unit price is not useful when the brand cannot sell the additional inventory.
Step 7: Prepare Technical Information
A manufacturer needs measurable instructions.
Each product should have a technical file containing:
- Front and back drawings
- Fabric composition
- GSM
- Color references
- Measurement chart
- Construction details
- Artwork files
- Print dimensions
- Decoration placement
- Labels
- Packaging
- Care instructions
Avoid Vague Instructions
Instead of writing:
Make the T-shirt very oversized.
Write:
Use a dropped shoulder, wide chest, 25 cm sleeve opening, and shorter body length based on the attached measurement chart.
Instead of writing:
Use premium fabric.
Write:
Use 240 GSM 100% cotton single jersey with a dense surface, dry hand feel, and controlled shrinkage.
Clear instructions reduce:
- Incorrect quotations
- Sample revisions
- Production disputes
- Delivery delays
Step 8: Develop and Review Samples
Sampling is where the collection becomes real.
Do not review samples only one at a time. Review them together as a complete collection.
Check Individual Products
For each sample, check:
- Fabric
- Fit
- Measurements
- Sewing
- Printing or embroidery
- Wash effect
- Labels
- Comfort
- Wash performance
Check the Collection Together
Place every sample next to the others and ask:
- Do the colors work together?
- Are the silhouettes balanced?
- Can customers create outfits?
- Does one product feel unrelated?
- Is the hero product obvious?
- Are too many products competing for attention?
- Does the collection have enough simple pieces?
Sample Review Scorecard
| Category | Suggested Weight |
|---|---|
| Collection identity | 20% |
| Fit and silhouette | 20% |
| Fabric suitability | 15% |
| Construction quality | 15% |
| Decoration | 10% |
| Commercial potential | 10% |
| Wash performance | 10% |
| Total | 100% |
A product may be attractive by itself but still need to be removed when it weakens the complete collection.
Step 9: Plan Production and Quality Control
Do not wait until the samples are approved to start planning production.
Create a production calendar covering:
- Fabric confirmation
- Color approval
- Pre-production samples
- Bulk material arrival
- Cutting
- Printing or embroidery
- Sewing
- Garment washing
- Finishing
- Final inspection
- Shipping
Approve Production Gates
| Approval Gate | What to Confirm |
|---|---|
| Fabric approval | Composition, GSM, color, and hand feel |
| Fit approval | Measurements and silhouette |
| Decoration approval | Artwork, size, color, and placement |
| Pre-production approval | Complete garment standard |
| Final inspection | Bulk quality and packaging |
A final inspection cannot correct several weeks of uncontrolled production.
FuKi Apparel supports in-line and final checks through its Streetwear Quality Control Service.
For US-market products, review the FTC Clothing and Textiles Guidance when preparing fiber, origin, business-identity, and care-label information.
Step 10: Prepare the Collection Launch
The product and marketing schedule should be developed together.
Prepare:
- Product photography
- Campaign photography
- Product descriptions
- Size guides
- Fabric information
- Care instructions
- Pricing
- Packaging
- Website pages
- Social media content
- Launch emails
Build Content Around the Collection Story
Customers need more than product photos.
Show:
- The collection concept
- Fabric selection
- Sample development
- Printing or embroidery
- Wash processes
- Fit details
- Quality checks
- Styling options
This helps customers understand why the product is different.
Plan a Focused Launch
Instead of giving every product equal attention:
- Introduce the collection concept.
- Reveal the hero product.
- Show complete outfits.
- Explain fabric and construction.
- Release supporting products.
- Continue with customer styling and behind-the-scenes content.
Example First Streetwear Collection
Here is a practical example for a new vintage-inspired brand.
| Product | Material | Color | Decoration | Product Role |
|---|---|---|---|---|
| Oversized T-shirt | 240 GSM cotton | Washed black | Large back screen print | Hero |
| Logo T-shirt | 240 GSM cotton | Cream | Small chest print | Entry |
| Heavy hoodie | 400 GSM French terry | Charcoal | Small embroidery | Core |
| Sweatpants | 400 GSM French terry | Charcoal | Small embroidery | Core |
| Cargo pants | Cotton twill | Olive | Woven patch | Supporting |
Why This Collection Works
- Only three main fabrics are required.
- The hoodie and sweatpants create a matching set.
- The hero T-shirt communicates the main graphic idea.
- The logo T-shirt provides a simpler entry product.
- The cargo pants help create complete outfits.
- The colors can be mixed easily.
- Decoration is limited to screen printing, embroidery, and one patch.
The collection feels varied without becoming difficult to manufacture.
Common Collection-Building Mistakes
Starting With Too Many Products
More products create more samples, fabrics, colors, minimums, and inventory.
Designing Every Product as a Hero
A collection needs simple products that support the strongest item.
Using Too Many Fabrics
Different materials increase development time and make color matching more difficult.
Choosing Colors Individually
Colors should be reviewed as a complete palette.
Following Too Many Trends
A collection can lose its identity when every current trend is included.
Ignoring the Target Price
An attractive product may not be commercially realistic for the intended customer.
Approving Samples Separately
Products that work individually may look unrelated when placed together.
Planning Marketing After Production
The collection story, photography, and launch strategy should influence development from the beginning.
Increasing Quantity Only to Reduce Unit Price
Lower unit cost does not remove the risk of unsold inventory.
Frequently Asked Questions
How many products should a first streetwear collection include?
Three to five products are normally enough. Start with one hero product, two or three core products, and one supporting or entry item.
Does every product need the same graphic?
No. Products need a shared design language, not identical decoration.
How many colors should a first collection use?
Two or three main colors are normally easier to coordinate, manufacture, photograph, and sell.
What should the hero product be?
The hero product should communicate the strongest brand idea and attract attention. It may be a graphic T-shirt, hoodie, jacket, or distinctive pair of pants.
Should I use custom fabrics for my first collection?
Use available fabrics when they meet the product requirements. Develop custom fabric when the material itself is central to the brand and the order can support the minimum.
How do I know whether the products work together?
Review all samples together. Check whether the colors, fabrics, proportions, graphics, and styling create a consistent identity.
Should I produce the same quantity for every product?
No. Produce more of proven core products and use controlled quantities for complex, seasonal, or experimental products.
When should I contact a manufacturer?
Contact a manufacturer after defining the product categories, approximate quantities, fabric direction, decoration, target market, and launch schedule.
Final Recommendation
To build a strong streetwear collection:
- Define a specific customer.
- Create one clear collection concept.
- Choose three to five connected products.
- Develop one hero item.
- Control fabrics and colors.
- Create a consistent graphic system.
- Calculate costs before final development.
- Prepare accurate technical information.
- Review samples as a complete collection.
- Plan quality control and launch content early.
My main recommendation is:
Build the smallest collection that clearly communicates your brand idea. Add more products only when each new item has a specific commercial or creative purpose.
A focused collection is easier to manufacture, easier to market, and easier for customers to understand.
FuKi Apparel supports streetwear brands with fabric sourcing, custom pattern development, sampling, printing, embroidery, garment washing, labels, packaging, quality control, and bulk production.
Explore FuKi Apparel Streetwear Brand Solutions or contact our production team to develop your collection from concept to bulk manufacturing.