
Large embroidery can make a streetwear hoodie or T-shirt look much more premium.
A small chest logo may only cover a few centimeters.
But some brands want:
- Large center-chest embroidery
- Oversized back embroidery
- Full-width lettering
- Large graphic embroidery
Then an important question appears:
How large can embroidery become before the quality starts to suffer?
There is no universal maximum size.
A 25 cm embroidery can look excellent when it is properly digitized and supported by the right fabric.
A much smaller design can still look poor if the stitch density, backing, hooping, or digitizing is incorrect.
From our experience developing embroidered streetwear, the real issue is not simply:
Logo Size
It is:
Size + Stitch Count + Fabric + Density + Underlay + Stitch Type + Stabilization
Table of Contents
- Is There a Maximum Size for Embroidery?
- 1. Larger Embroidery Means More Stitches
- 2. Large Satin Stitches Can Become a Problem
- 3. Fabric Must Support the Embroidery
- 4. Large Embroidery Can Pull and Distort the Garment
- 5. Stitch Density Is More Important Than Simply Adding Stitches
- 6. Backing and Underlay Become More Important
- 7. Large Embroidery Can Feel Heavy and Stiff
- 8. Hoop Size and Machine Setup Matter
- 9. When Should You Use Appliqué Instead?
- Practical Embroidery Size Guide for Streetwear
- How We Test Large Embroidery Before Bulk Production
- Frequently Asked Questions
- Final Recommendation
Is There a Maximum Size for Embroidery?
There is no single maximum embroidery size that works for every garment.
The possible size depends on:
- Embroidery machine
- Hoop or frame size
- Garment construction
- Fabric weight
- Artwork complexity
- Stitch type
- Stitch count
For example:
A large simple logo made from bold filled shapes may be easier to embroider than a smaller design containing:
- Tiny lettering
- Dense details
- Thin outlines
- Multiple overlapping stitch layers
So asking:
"Can you embroider a 30 cm logo?"
is only the first question.
The factory also needs to review:
What does the artwork actually look like?
Wilcom notes that embroidery designs are not infinitely scalable because increasing a design's size changes stitch construction and can significantly increase stitch count.
External reference:
Wilcom – Stitch Count and Scaling
1. Larger Embroidery Means More Stitches
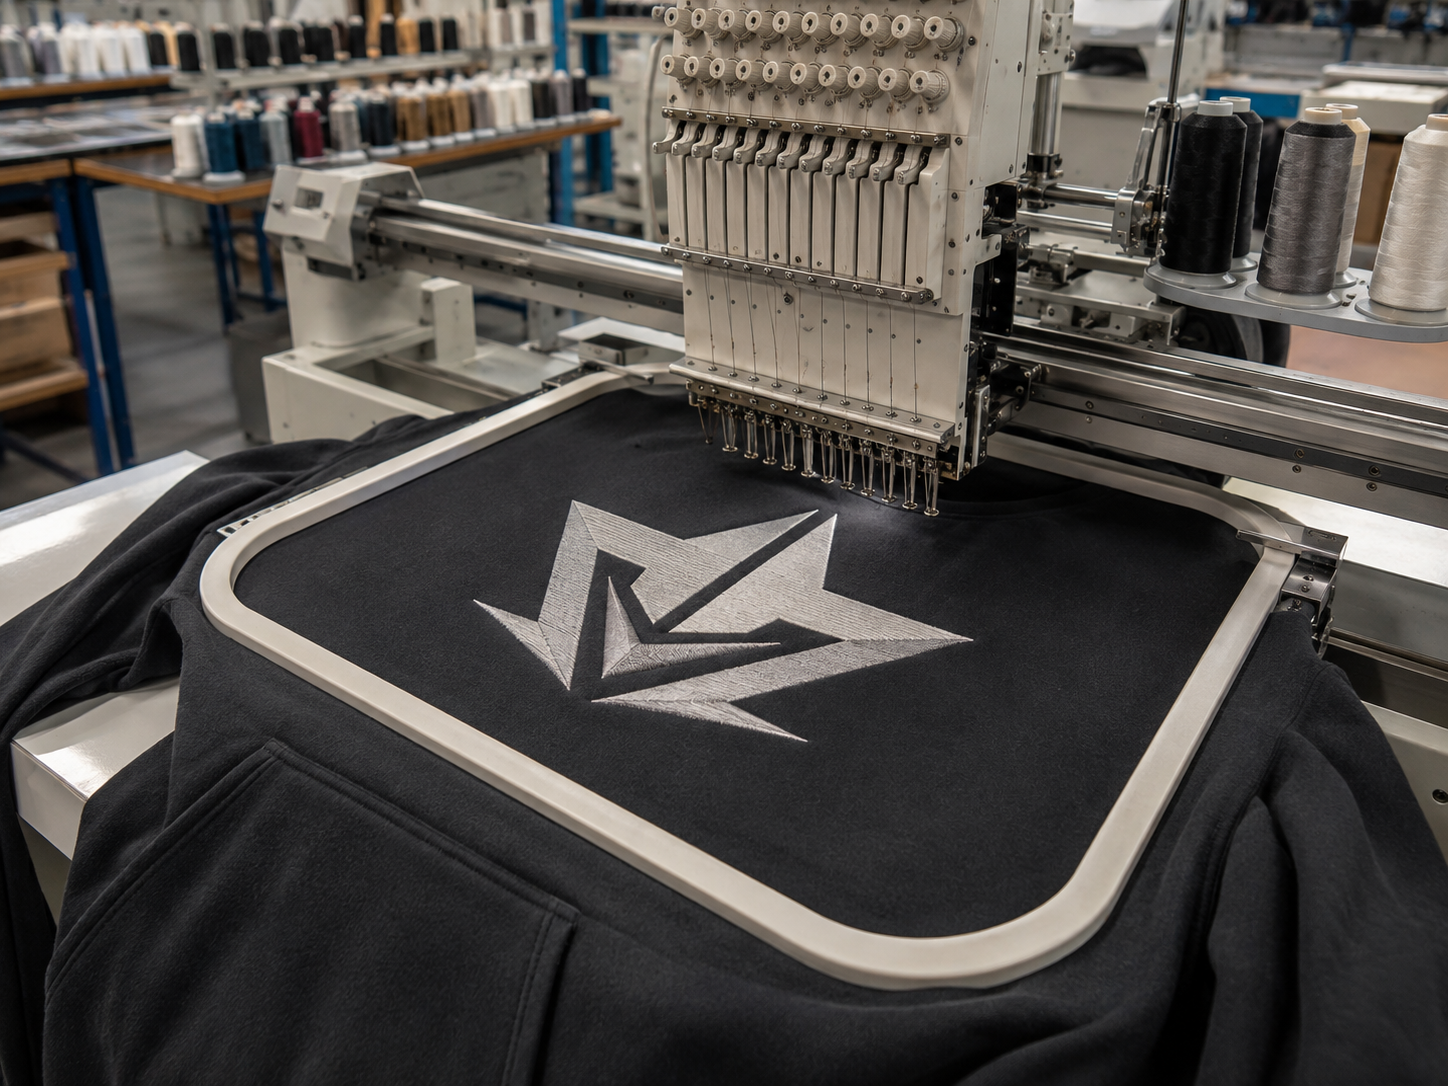
Unlike printing, embroidery physically places thread into the garment.
When an embroidery design becomes larger, more area needs to be covered.
That usually means more stitches.
For example, increasing a logo from:
8 cm
to:
24 cm
does not necessarily mean the stitch count increases exactly three times.
Large filled areas may require many additional rows of stitching.
Wilcom explains that stitch count can increase faster than design dimensions because larger embroidery areas require additional stitch coverage.
This affects:
- Production time
- Embroidery cost
- Garment weight
- Fabric stress
A large back embroidery can sometimes contain tens of thousands of stitches depending on the artwork.
This is why embroidery pricing is often influenced by:
Stitch Count + Size + Complexity
rather than size alone.
2. Large Satin Stitches Can Become a Problem
Satin stitch is commonly used for:
- Lettering
- Borders
- Logos
- Bold lines
It creates a clean, smooth embroidery surface.
However, satin stitch works best when the stitched column is not excessively wide.
If the area becomes too wide, the thread has to travel a longer distance across the surface.
This can result in:
- Loose stitches
- Snagging
- Poor coverage
- Unstable embroidery
For wider areas, the digitizer may change the construction to:
- Split satin
- Tatami fill
- Complex fill
instead of trying to stretch one satin stitch across the entire area.
Wilcom specifically notes that excessively wide satin areas can become loose or fail to cover the fabric correctly.
External reference:
Wilcom – Satin Stitch and Auto Spacing
This means:
Large Embroidery Requires Re-Digitizing
not simply:
Enlarge the Existing Embroidery File
3. Fabric Must Support the Embroidery
The same large embroidery can behave differently on different garments.
Compare:
Heavyweight Hoodie
The fabric may provide enough structure to support:
- Dense embroidery
- Large lettering
- Heavy thread coverage
Lightweight T-Shirt
The fabric is much more flexible.
Large dense embroidery can pull the fabric and create:
- Wrinkles
- Puckering
- Distortion
This is why a large embroidery that works well on:
450 GSM Hoodie Fleece
may not work the same way on:
180 GSM Cotton Jersey
without changing the embroidery construction.
For lightweight garments, the factory may need to adjust:
- Density
- Underlay
- Backing
- Stitch direction
- Pull compensation
You can also read:
Why Does Embroidery Pucker on Lightweight Fabric?
4. Large Embroidery Can Pull and Distort the Garment
Every needle penetration introduces thread tension into the garment.
When thousands of stitches are concentrated in one area, those forces can pull the fabric inward.
This can cause:
- Puckering
- Wavy edges
- Distorted logos
- Uneven fabric around the embroidery
Large circular logos are a good example.
If the stitch direction and compensation are not properly developed, a circle may become slightly oval after embroidery.
The garment may also look flat before embroidery but begin to wrinkle around the design afterward.
This problem becomes more noticeable with:
- Stretchy fabrics
- Lightweight jersey
- High stitch density
- Large solid embroidery areas
This is why digitizing needs to consider how the fabric reacts during stitching.
For more information:
Why Does Embroidery Shrink or Distort a T-Shirt?
5. Stitch Density Is More Important Than Simply Adding Stitches
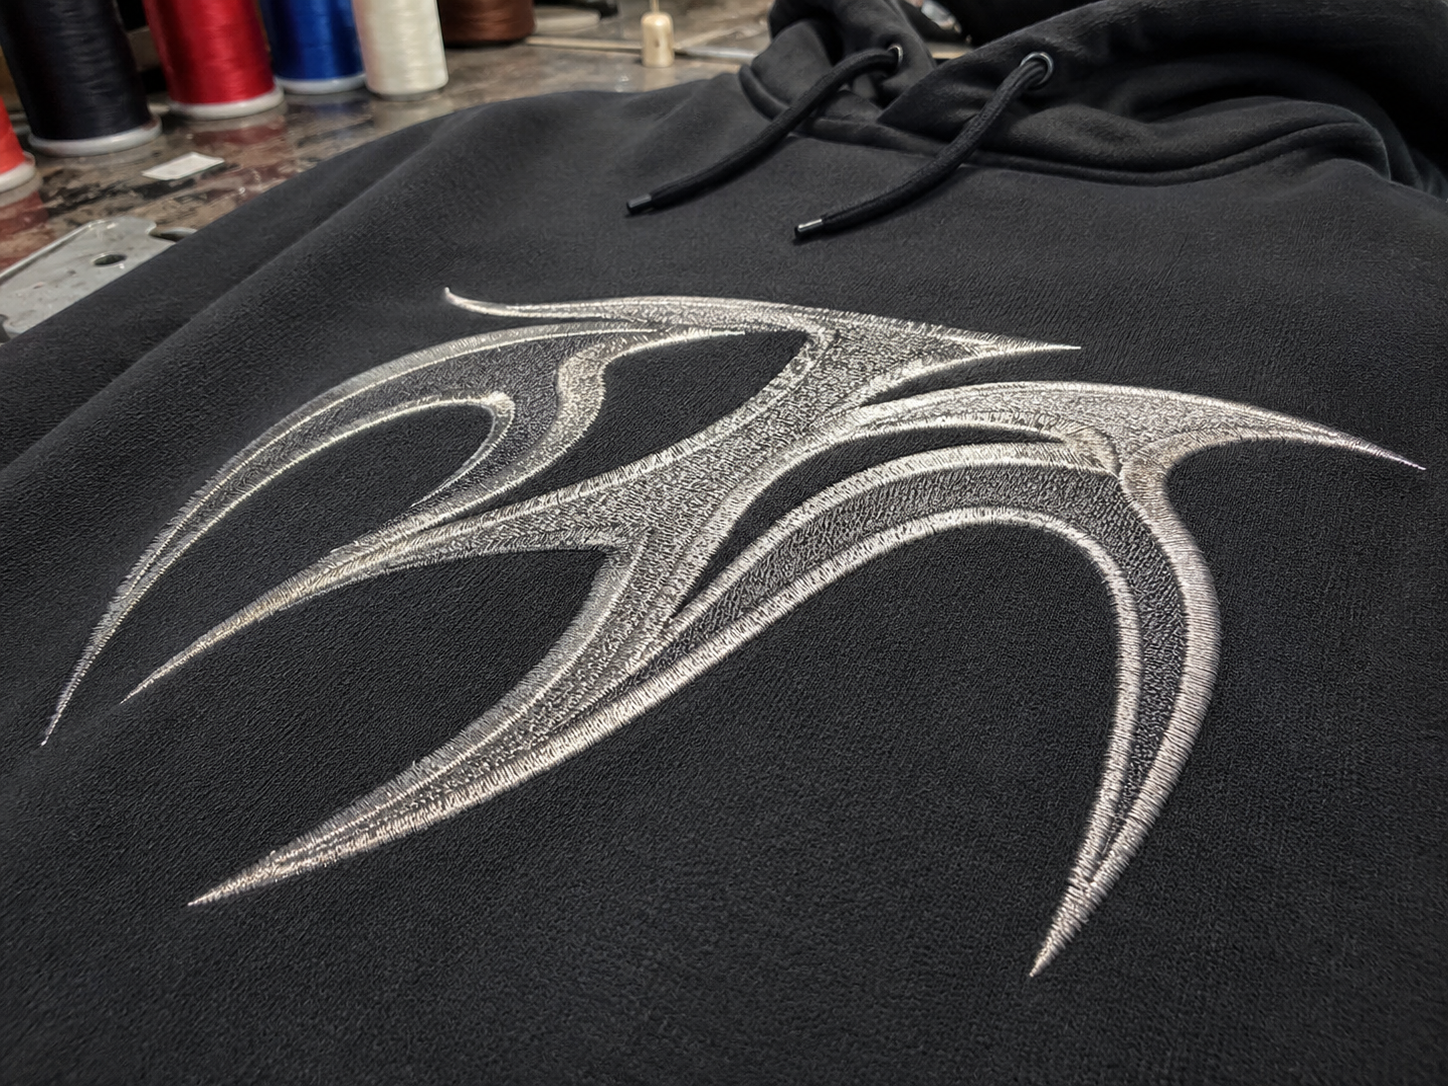
A common mistake is thinking:
"If we want premium embroidery, just make the stitching denser."
Too much density can actually make the result worse.
Excessive stitch density can create:
- Hard embroidery
- Thread breaks
- Needle breaks
- Fabric damage
- Puckering
- Longer production time
If a large design contains several overlapping layers, some areas may receive far more needle penetrations than expected.
Professional digitizing needs to control:
- Stitch spacing
- Overlap
- Underlay
- Stitch direction
- Pull compensation
Wilcom's embroidery documentation notes that density may need to be changed depending on the fabric and thread, and excessive needle penetration can affect embroidery quality.
External reference:
Wilcom – Adjusting Stitch Densities
The goal is not:
Maximum Stitch Density
The goal is:
Enough Coverage With Minimum Unnecessary Stitches
6. Backing and Underlay Become More Important
Large embroidery needs support.
Two important parts are:
Backing
Backing is placed behind the fabric during embroidery.
It helps stabilize the garment while thousands of stitches are added.
Different products may require different backing strategies.
Underlay
Underlay consists of supporting stitches underneath the visible embroidery.
It can help:
- Stabilize the fabric
- Lift the top stitches
- Improve coverage
- Reduce distortion
The correct setup depends on the garment.
For example:
A thick hoodie and a lightweight T-shirt should not automatically use exactly the same embroidery settings.
Wilcom also emphasizes that embroidery parameters such as density, underlay, and pull compensation should be adapted to different fabrics.
External reference:
Wilcom – Production-Ready Embroidery Lettering
7. Large Embroidery Can Feel Heavy and Stiff
Even when the embroidery looks technically perfect, there is another question:
Is it comfortable to wear?
A very large filled embroidery graphic can create a stiff area on the garment.
Imagine covering most of the back of a T-shirt with dense thread.
The embroidery may look impressive.
But the wearer may feel a large rigid panel against the back.
This matters especially for:
- T-shirts
- Lightweight hoodies
- Summer streetwear
For large artwork, sometimes reducing the filled embroidery area creates a better garment.
For example:
Instead of fully filling a large logo:
Solid Fill Embroidery
the design can use:
Embroidered Outline
or:
Embroidery + Print
This can reduce:
- Stitch count
- Weight
- Stiffness
- Cost
while still creating a premium appearance.
8. Hoop Size and Machine Setup Matter
The embroidery machine also creates physical size limitations.
The garment needs to be held securely in a hoop or embroidery frame.
If the design is larger than the available embroidery area, the factory may need:
- A larger frame
- Multi-position embroidery
- Different machine equipment
The garment also needs to remain stable inside the frame.
Poor hooping can cause:
- Registration problems
- Fabric movement
- Distorted embroidery
- Misaligned sections
This becomes even more important for large graphics because small movement during stitching can become much more visible across a large design.
So before approving oversized embroidery, the factory should confirm:
Artwork Size + Garment Placement + Machine Embroidery Area
9. When Should You Use Appliqué Instead?
Sometimes a design is simply too large to efficiently fill with thread.
Imagine a large back graphic with a solid area measuring:
30 × 30 cm
Filling the entire area with dense embroidery can create:
- Extremely high stitch count
- Long production time
- Heavy garment feel
- High embroidery cost
Appliqué can be a better solution.
Appliqué uses a separate piece of fabric placed onto the garment and secured with embroidery stitches.
Instead of filling the entire shape with thread:
Fabric creates the large color area
while:
Embroidery finishes the edges
This can significantly reduce stitch count.
Appliqué works particularly well for:
- Varsity graphics
- College lettering
- Large numbers
- Large back logos
- Sports-inspired streetwear
Another option is:
Screen Print + Embroidery
For example:
Large printed artwork
+
Small embroidered details
This often creates more visual depth without making the garment excessively stiff.
Practical Embroidery Size Guide for Streetwear
There is no universal size limit, but brands can use the following as a practical development guide.
These are not fixed technical limits.
| Embroidery Size | Common Application |
|---|---|
| 3–7 cm | Small chest or sleeve logo |
| 7–12 cm | Standard chest embroidery |
| 12–20 cm | Medium statement logo |
| 20–30 cm | Large chest or back embroidery |
| 30 cm+ | Oversized embroidery requiring careful testing |
As the design becomes larger, the factory should pay more attention to:
- Stitch count
- Fabric support
- Backing
- Hoop size
- Design structure
- Garment comfort
A simple 30 cm outline embroidery may be easier to produce than a fully filled 20 cm graphic.
So the dimensions alone should never determine whether the embroidery is suitable.
How We Test Large Embroidery Before Bulk Production
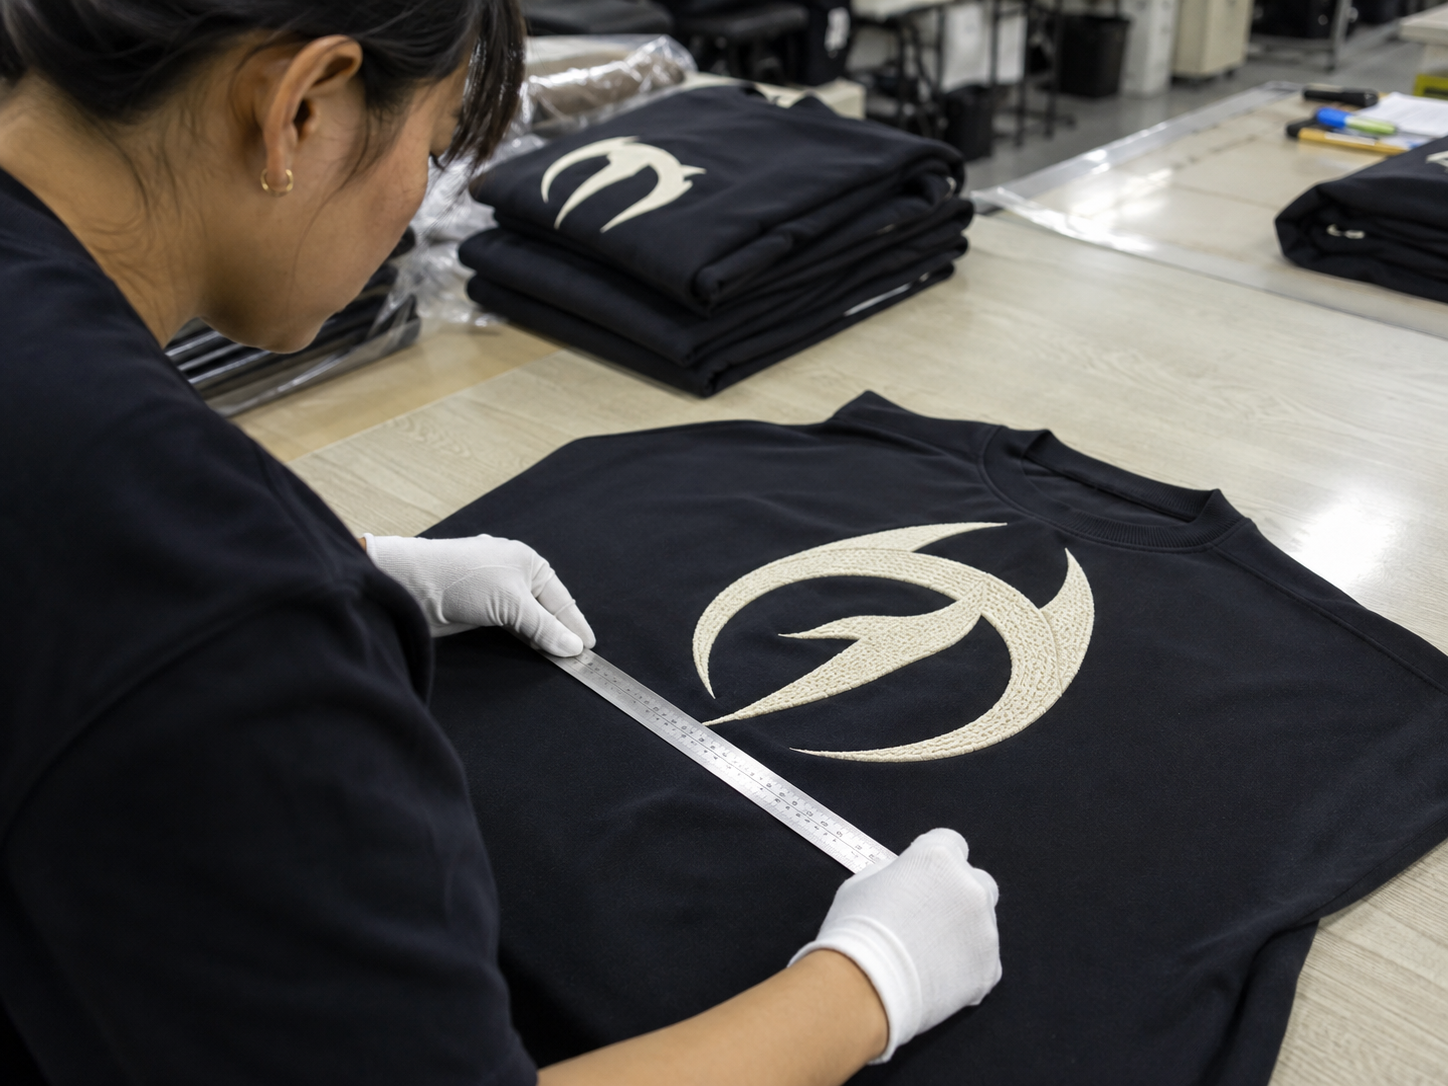
For large embroidery, we strongly recommend making a physical sample before bulk production.
A typical development process is:
Final Artwork
↓
Confirm Final Size
↓
Review Fabric
↓
Digitize Embroidery
↓
Choose Backing & Underlay
↓
Make Embroidery Test
↓
Check Fabric Distortion
↓
Check Stitch Coverage
↓
Check Garment Hand Feel
↓
Wash Test
↓
Approve
↓
Bulk Production
During embroidery testing, we normally review:
- Logo dimensions
- Stitch density
- Edge sharpness
- Thread coverage
- Fabric puckering
- Registration
- Garment distortion
- Backing
- Final hand feel
The sample should also be checked from:
Front
and
Inside
A design can look good from the outside while still containing unnecessary thread buildup or uncomfortable backing inside the garment.
Frequently Asked Questions
How large can an embroidered logo be?
There is no universal maximum size.
The practical limit depends on the embroidery machine, hoop size, artwork, fabric, stitch count, and garment construction.
Is a 30 cm embroidery too large?
Not necessarily.
A properly digitized 30 cm design can work well on suitable heavyweight fabric, but it should be tested before bulk production.
Why does large embroidery make fabric wrinkle?
Large embroidery introduces many stitches and thread tension into the fabric.
If density, backing, underlay, or pull compensation is incorrect, the garment can pucker or distort.
Is heavyweight fabric better for large embroidery?
Usually it provides more support than lightweight jersey.
However, heavyweight fabric still requires correct digitizing and stabilization.
Can large embroidery make a T-shirt uncomfortable?
Yes.
Very dense embroidery can create a heavy or stiff area on the garment.
This is why large designs may need lower-density construction, outlines, appliqué, or mixed techniques.
Can I simply enlarge an existing embroidery file?
It is not recommended for major size changes.
Embroidery is different from vector printing.
Stitch types, density, underlay, and other parameters may need to be regenerated or manually adjusted.
Is large embroidery more expensive?
Usually yes.
Larger designs often require more stitches and more machine time.
However, artwork complexity also has a major influence.
When should I use appliqué instead of embroidery?
Appliqué can be useful when the design contains very large solid areas that would otherwise require excessive thread and stitch count.
Final Recommendation
There is no single number where embroidery suddenly becomes "too large."
The real quality limit depends on:
Size + Fabric + Stitch Density + Stitch Type + Digitizing + Backing + Hoop Setup
For small and medium logos, standard embroidery is usually straightforward.
For large chest and back graphics, the design should be evaluated more carefully.
And for very large solid graphics, sometimes:
Appliqué
or:
Screen Print + Embroidery
can produce a better garment than filling the entire design with thread.
The safest workflow is:
Final Artwork → Final Fabric → Digitize → Embroidery Test → Check Distortion → Wash Test → Approve → Bulk Production
For custom oversized T-shirts, heavyweight hoodies, embroidered logos, appliqué, and mixed streetwear decoration, Fuki Apparel can help with artwork review, embroidery development, sampling, testing, and bulk production.